When I first spotted a crack in my RV shower, my heart sank. Replacing the whole PVC shower panel looked expensive and complicated. I quickly realized it would mean removing walls, plumbing, and trim pieces just to swap one cracked panel.
So instead of tearing everything apart, I decided to try a repair. That was two winters ago, and the fix is still holding perfectly today.
For context, the crack appeared during winter storage : it gets extremely cold where I live, and the combination of temperature changes and RV flexing likely caused it. If you’re facing something similar, this simple DIY method could save you hundreds of dollars and a lot of frustration.
As an Amazon Associate we earn from qualifying purchases. Links on this website are affiliate links, meaning we may earn a commission from your purchases at no extra cost to you.
Optional: fiberglass or plastic repair kit (for larger cracks)
Step-by-Step: How I Repaired the Crack
1. Stop the crack from spreading
Start by drilling a small hole (⅛” or so) at the very end of the crack in the PVC wall. This prevents it from growing longer later.
2. Melt and fuse the crack
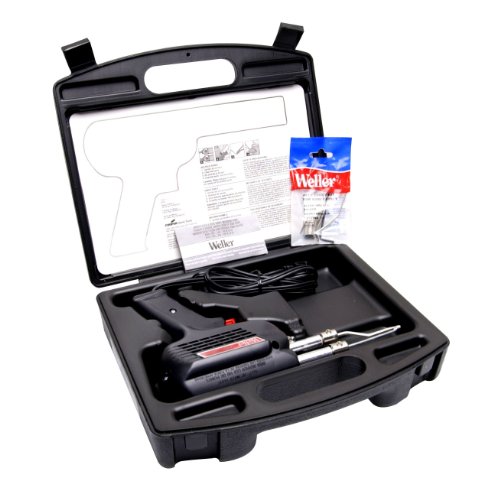
Next, I used asoldering iron like this oneto slowly melt along the crack’s edge, pressing the softened plastic together so it fuses back in place. This acts like a “plastic weld.”
Go slow and don’t overheat the plastic : you just want it to soften and bond, not burn.
Once the crack cooled and hardened, I gently sanded the area to smooth it out.Clean thoroughly with isopropyl alcohol or acetone so the sealant sticks properly.
4. Tape the area for a clean finish
Use painter’s tape to mask both sides of the repaired line, leaving about ¼ inch of space around it.
This will help you apply the sealant neatly without mess.
Frequently Asked Questions About RV Shower Crack Repair
Q1: Can I use regular silicone instead of marine sealant?
You can, but silicone doesn’t adhere as strongly or flex as well as marine-grade sealant like 3M 5200. For a long-lasting waterproof bond, marine sealant is the better choice.
Q2: How long should I wait before using the shower again?
3M 5200 takes about 24 to 48 hours to fully cure, depending on temperature and humidity. Give it enough time, rushing can ruin the seal.
Q3: What causes RV showers to crack in the first place?
Cracks often form from cold weather, flexing floors, or poor support under the shower base, especially after winter storage when plastic becomes brittle.
✅ The Results — Two Years Later
Two years and dozens of trips later, the repair is still solid. No leaks, no new cracks, no signs of separation.
This fix has survived freezing winters, summer heat, and all the shaking that comes with RV travel.
If your RV shower develops a crack, don’t rush to replace it, this simple DIY method might be all you need.
💡 Tips and Takeaways
Drill a small “stop hole” first : it’s the secret to preventing future spreading.
A soldering ironworks surprisingly well for small cracks, just go slow.
The 3M 5200 sealant creates a professional, watertight finish.
Let it fully cure before showering or adding pressure.
When to Replace Instead of Repair: If your crack is longer than 6 inches, located near the drain, or the shower floor feels soft underneath, it’s better to replace the panel. A weak or flexing base usually means hidden structural issues that a surface repair won’t fix.
🧭 Final Thoughts
RV showers can be tricky to replace, but repairing them is totally possible with the right approach.
This method worked great for me and if it holds for two years through Canadian winters, that’s saying something!
If you’ve tried your own shower repair, share your experience below, I’d love to hear what worked for you.
As an Amazon Associate we earn from qualifying purchases. Links on this website are affiliate links, meaning we may earn a commission from your purchases at no extra cost to you. For more details, see our Affiliate Disclaimer.


